3D Scanning In Delhi
3D Scanning, Digital Sculpting, Reverse Engineering, Dimension Inspection services, all under one roof
Parts Produced
Machines In-House
Customers Served


Contact Us
Why Choose Think3D
THINK3D is one of India’s largest integrated 3D Printing service providers offering 3D Printing, 3D Scanning, 3D Designing, CNC Machining, Vacuum Casting & Injection Molding services all under one roof. Our facility is equipped with entire range of 3D Printing machines, 10 CNC Machines, 2 Injection Molding Machines and have a passionate team to serve you. We also have state of art 3D Scanning, 3D Designing, QC labs in-house
Quick Online Quote
Upload files in Get Quote section and get quote within 4 hrs
Technical Competency
Technically qualified team in various mfg. technologies
Competitive Pricing
Highly competitive price and bulk discounts also available
NDA & IP Protection
All designs and data are kept in highly secure private server
Our DELHI Clients


















INDIA’S LARGEST INTEGRATED
Digital Manufacturing Facility
Feel free to contact us if you wish to avail our services.
Frequently Asked Questions
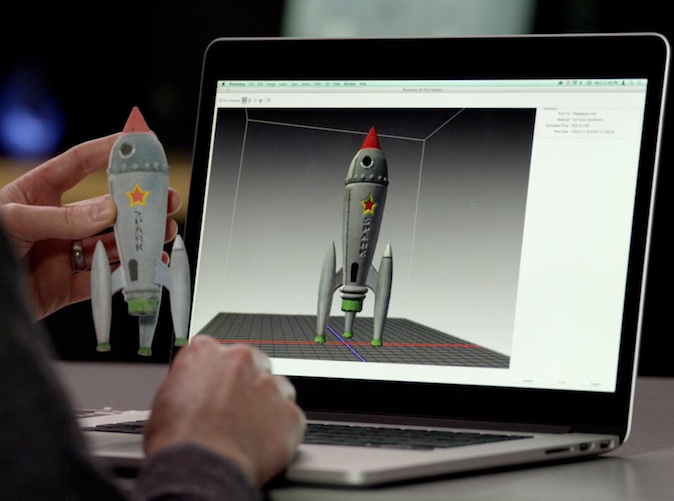
3D scanning is the fast and accurate process of using a 3D scanner to convert physical objects into digital 3D data (in the most basic terms, it quickly and accurately gets your part into the computer). These scanners capture xyz coordinates of millions of points all over an object to recreate it digitally.
Generally no. Almost any material lends itself to 3D Scanning. Although 3D laser scanners can have trouble with black, translucent or reflective objects (for obvious reasons), these objects can either be sprayed with a flat white talc powder or can be scanned with a different type of 3D scanner. It would be an extremely rare case if we could not scan an object because of its material.
Absolutely not. The lasers used in 3D laser scanning will not damage parts, and are even safe for your eyes.
Our average 3D scanners are accurate to +/- 50 microns, or .002 in (two thousandths of an inch) for any point in space’s xyz coordinate. This is generally more than enough accuracy to cover the needs of almost all 3D scanning projects. If greater accuracy is required, we have options that use specialized 3D scanners which can provide finer scan data.
Yes. While 3D scanners do not directly output parametric data, our experienced engineers can reverse engineer fully parametric models based on the 3D scan data.
3D scanning initially creates an output that is inherently different from what CAD programs understand. CAD programs use mathematics to define a shape and control its behavior.
3D scanners output a collection of points (a point cloud) which are measured from the object using xyz-coordinates. While this collection of points digitally visualizes the physical shape of an object, there is no mathematical relationship between the individual points.
These 3D scanning software packages allow for the vital conversion of the point clouds into mathematical data that CAD programs can understand. While some manufacturing processes can work with point data (SLA, and some CAM/machining), most cases require mathematical data for the file to be usable.
Generally, you can scan all visible not-too-shiny surfaces that do not move for at least a few seconds of scanning time. The 3D scanner range we offer can scan an object size of 60-500 mm, but can be adapted for scanning small objects with fine details or larger object like a car engine.
The best objects to scan with this 3D scanner are:
- Bounded by the specified 60-500mm in any dimension
- Opaque, not translucent/transparent
- Not-too-shiny surfaces
- Asymmetrical, with abundant scan alignment features
Start calibrating with the mid-point and then calibrate smaller or larger sizes. It’s easier to calibrate this way.
You can export the 3D models directly from the scanner software to all the standard formats: .dae, .fbx, .ma, .obj, .ply, .stl, .txt, .wrl, .x3d, .x3dz, .zpr
Latest News
